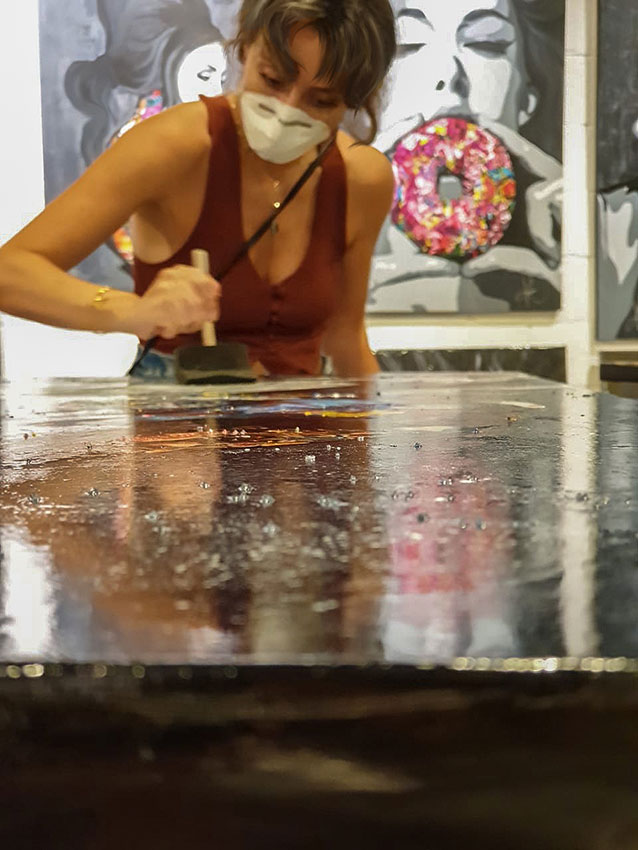
Why varnish your paintings? Artists send incredible amount of time, effort and money to produce artwork which we want to endure the test of time. This is where varnish comes in to ensure that your paintings are well preserved and they look the best when being viewed by potential buyers or art enthusiasts.
To help out, I have put together 5 tips that have helped me in keeping my work in excellent condition with varnishing.
1- Prep Up!
Before starting your adventures with varnishing, ensure that your painting is in a dry and dust free room, then have your painting set on a flat surface covered with newspapers or a large scrap of fabric. Additionally, always have a separate washed glass jar or plastic cup for varnishing as we would not want any sort of paint to get mixed with the varnish which can later stick to your painting.
2- To gloss or not to gloss?
Varnish comes in various finishes such as gloss, satin or matte. In order to choose the right varnish for your artwork, it is important for you to decide what would suit your particular style of painting. A gloss finish will leave a shiny sheen behind on your canvas making the colours pop and seem vibrant. While, a matte finish will make your artwork seem more subdued and will soften the overall look of the piece. On the other hand, a satin varnish will have the shine level that is a mix of both gloss and matte.
It all comes down to what you want your artwork to look like and a bit of trial and error will help you decide what varnish would work for you.
3- On the brushes
When it came to applying varnish on the paintings, it was a bit of an expensive learning curve for me. In the beginning, I used expensive brushes believing that the varnish would require the same quality brushes that oil or acrylic paints require for quality results. I soon learned that is not the case, as high quality brushes soak up the varnish, smudge the painting and get damaged in the process.
Therefore, always use disposable foam brushes or brushes that have synthetic bristles to prevent the varnish from not getting absorbed too much.
4- Strokes and Coats
With varnish application, you can apply multiple layers and build up to the finish that you want. However, when doing multiple coats, it is important that a thin layer is applied every single time to prevent streaking or air bubbles on the surface. With the varnish on the brush, long and light handed strokes will help in forming a seamless layer that will not distract from your beautiful artwork.
5- Patience is key
Last but not least, we need patience. The process of varnishing is easy to get right, if one has the patience for it. Patience is key to ensure that the painting is preserved properly and the varnish is applied adequately. It is incredibly important to wait until your painting is completely dry to apply any sort of varnish to it. Moreover, when applying multiple coats of varnish, it is ideal to wait 4 to 6 hours between coatings.
There it is! These are my top tips for varnishing your paintings. I hope these help you in transforming and preserving your amazing artworks to beautiful masterpieces.
Shop my artwork collection here.
Check my digital artwork collection here.


2 thoughts on “5 Tips to Varnish your Artwork”
Hi Kristel
Love your work!!! Thanks for the varnishing tips, they have really come in handy. I just wanted to ask what brands do you use or recommend for varnishing?
Hello Ariane,
Thank you for your lovely comment. I use Amsterdam (Matt , Gloss & Satin). I got used to it and it’s always available at most art stores. If you are in Dubai you can find it at MESCO, they give a discount to registered artists
Comments are closed.